using led strips
Final Project Video
This video demonstrates the final working version of the project.
Introduction
The Fire Effect was used in the Demoscene back in the day. This project is my attempt to recreate the fire effect on cheap led strip lights.
Godot Prototype
Before I worked on the hardware, I wanted to find out if this would even look good, and how big the device would have to be to look ok. To do this, I modeled the led strips in blender, and then pulled those into godot to create a simulation of what this would look like. With the simulation working, I was able to play with the height and the width to find the smallest footprint that still looked good. This prototype would actually come in useful many times throughout the project.
The video looks blurry because I was simulating having a diffuser in front of the lights.
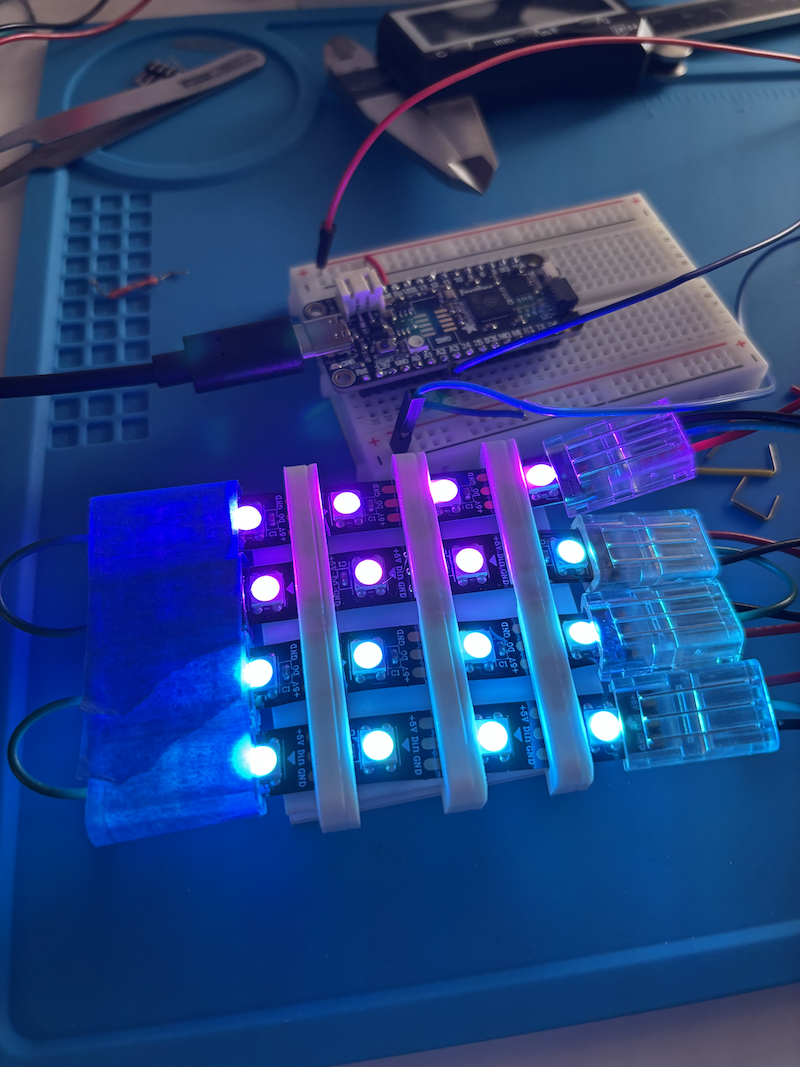
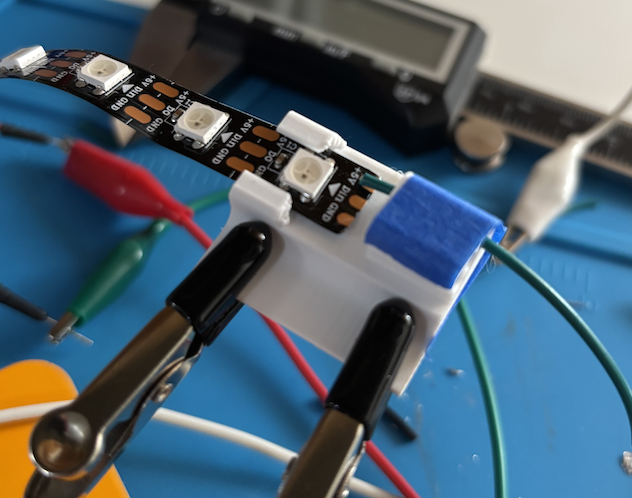
Physical Prototype
Once I was happy with the digital prototype, I built a small 4x4 physical prototype. This was to figure out how to connect the leds, and make sure all the electronics worked the way I thought. I also used this prototype to figure out EASY ways to do things; for example how to connect all the rows together. I experimented jigs that could hold the parts as I soldered them, and with special connectors that just clipped on, and eventually just went with the clips since they were much easier to deal with, and I didn't really want to solder 15 rows of these things.
I also worked on what I wanted for the base, and any supports that would hold this together. I created some plastic bars that would hold the rows together, but in the end found that rubber bands worked just as well and where much easier to deal with.
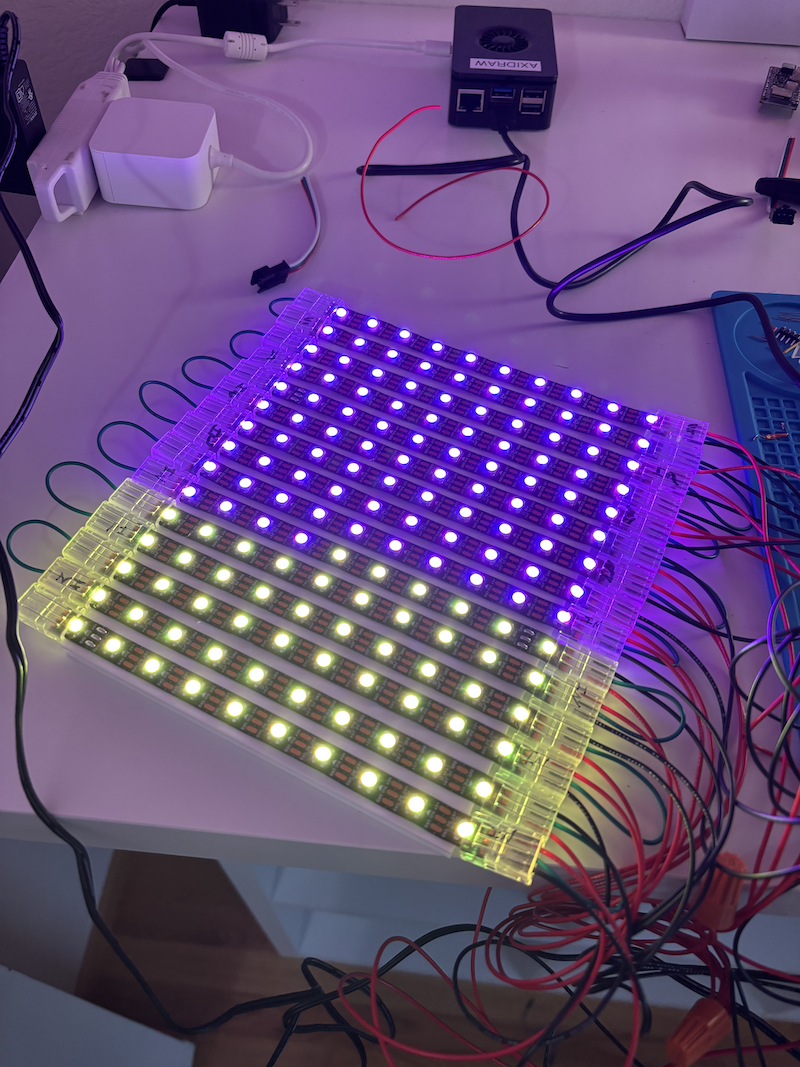
Building the Device
Now that I had a small prototype, I started putting together the final device, which was pretty straight forward since I had already figured out most of the problems in the prototype. The only big mistake I ended up making was how I ran the power to the strips. Instead of just looping the power between each row like I did with the signal pin, I ended up running a power and ground to each row individually which is kind of a mess; if I did this again, I would definitely loop the power.
Once I had all the rows connected, I printed a base to hold some diffuser material over them. Without the diffuser the effect doesn't look very good. I also found that the just using different values of red from 0-255 on the leds didn't really look much different, so for the palette I created a gradient of colors in affinity photo, exported that as a png, and then used the godot prototype to convert the png into a list of colors I could choose from. This was better in the long run since I could then control what the colors looked like, and change the palette without having to change the code.
Code and Limitations
I used a RP2040 running circuit python for the microcontroller. I thought it would be fast enough to run the code in real time, but when it came time to program the device, I found that it could only render the fire in 1 frame per 2 seconds; not ideal. The solution? I ended up using the godot prototype code to pre-render all the frames of fire to a csv file and then just having the rp2040 play that back.